When Should I Send My Wedding Invitations
As I sit hear preparing for the Easter Weekend, it’s been a wonderful day of sending emails and messages to clients confirming delivery of items in preparation for items for...
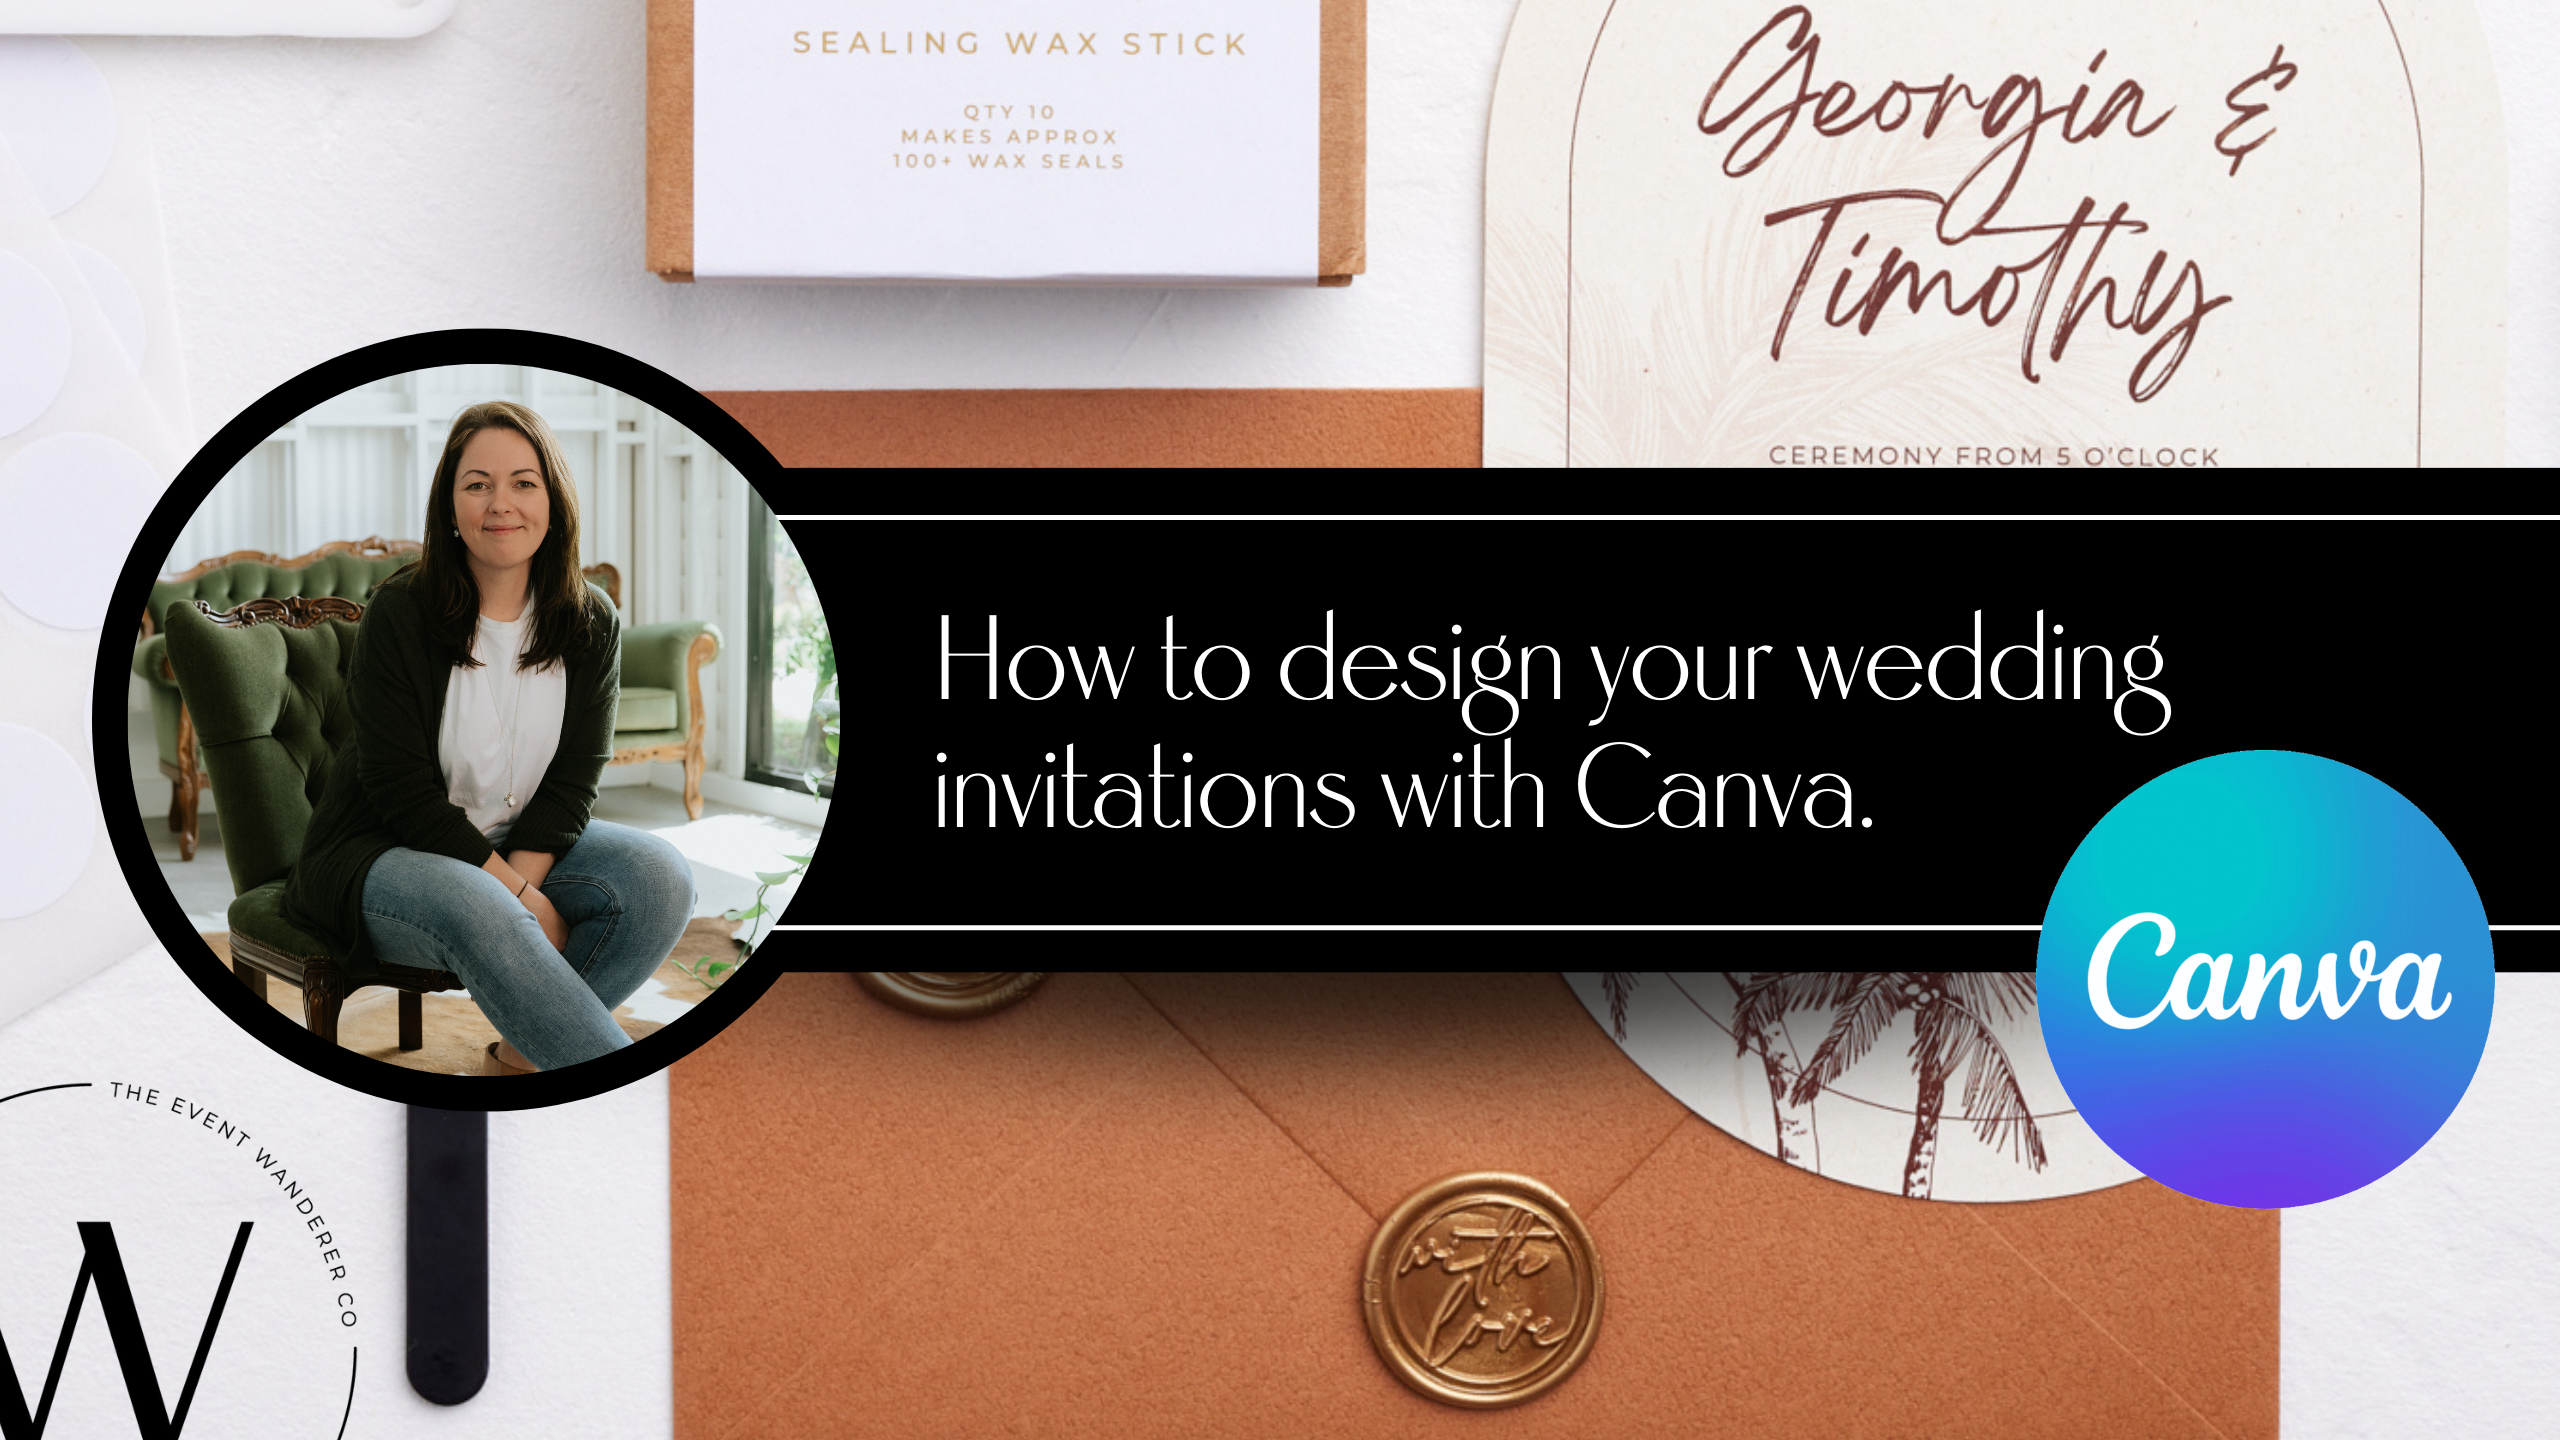
Canva is a very popular online design tool (founded here in Australia!) that allows users to create beautiful designs in a quick, easy and pain free manor!
Yes, everyone can be a graphic designer and that is why I love Canva and am a huge advocate for this! What’s more, I’m a massive advocate for doing your own wedding invites through Canva because there is nothing greater than saying you ‘made it myself’.
(& yes, I know my day job is designing beautiful wedding stationery, but first and foremost I want people to feel empowered to create their own and really own their wedding styling… Seriously, how much pride do you feel when you complete a DIY project or someone compliments you on something you laboured over for hours... Come on, you know we all love that feeling of immense satisfaction in ourselves),
& If you love Canva as much as I do, then check out the How To Videos from our amazing friends at White Deer Graphic Design; Jacqui is a gun with all things Canva, and her tutorial videos are second to none! View them here.
Here's our quick tips for designing with Canva!
1. Take you time: try not to rush as this is when mistakes happen
2. Double/triple check everything and get a second set of eyes to look over your design before printing
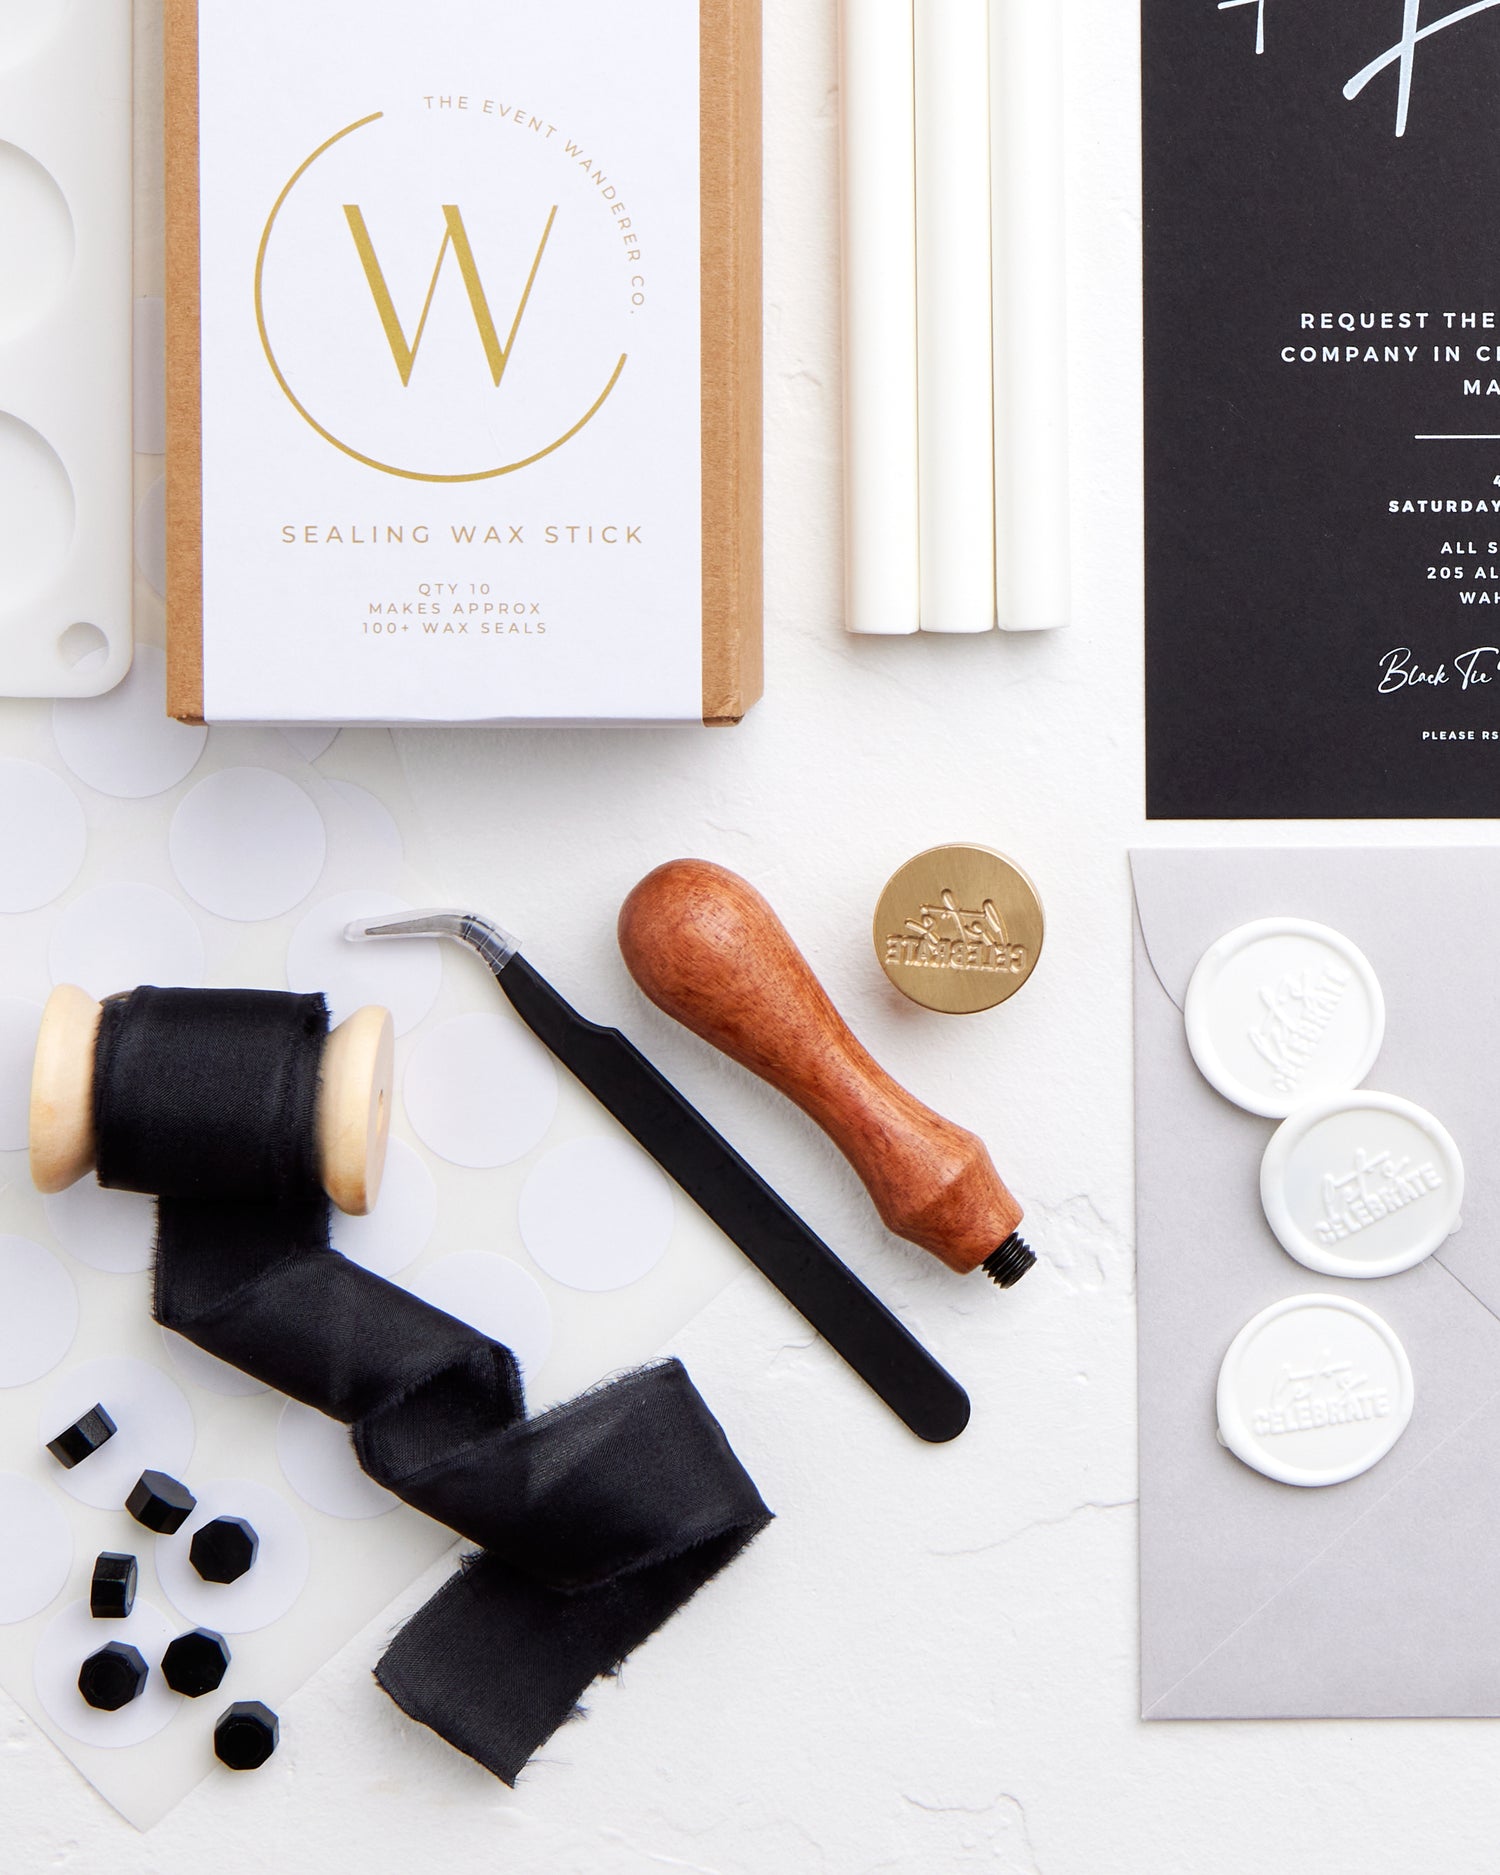
3. If you want to personalise your invite with your guest names, you may not be able to use online print services like VistaPrint or Officeworks. If you are after personalised printing services, please contact us as we'd be happy to help!
4. Don't be afraid to play with a design: a template is just a template... make it your own in any way you see fit!
5. If you want help with your designing, join our Facebook Group! More details on that below.
As I sit hear preparing for the Easter Weekend, it’s been a wonderful day of sending emails and messages to clients confirming delivery of items in preparation for items for...
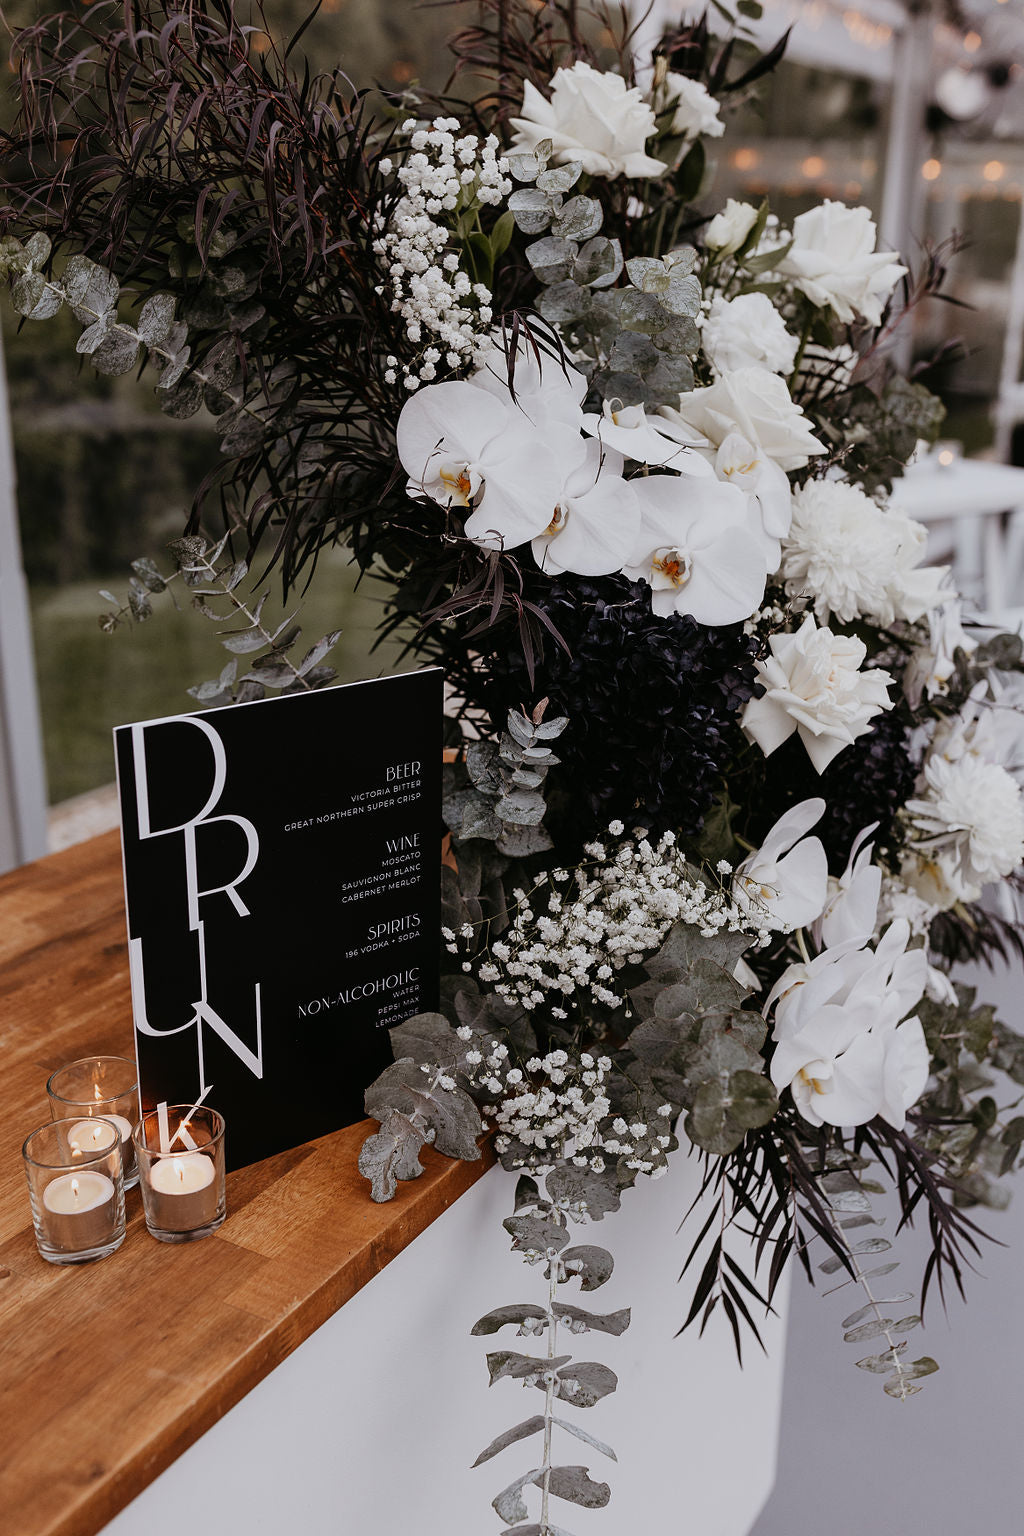
Your wedding day is a special occasion that reflects your unique style and personality and whilst this generally starts with your wedding invitations, it doesn't have to end there. From...
So, the engagement bubble is slowly subsiding... The venue deposit has been paid and you've met what feels like a million celebrants... Florals are locked in, and your guest list...